If you have found this post, you are undoubtedly looking for a waffle stitch written pattern, which this post will provide. BUT what if I told you that you don’t need one, you can create YOUR OWN? That is what this blog is all about, keep reading…. (Yes, there is a waffle stitch written pattern available)
As we learn to crochet, we all find stitches or patterns that we love the look of and want to try. For me, one of those stitches was the waffle stitch. Something about the look of it makes it so interesting. It is symmetrical and has a lovely grid texture. I plan to make an entire set of washcloths for my bathroom!
Now that I have learned the stitch, and have the understanding of it, I am here to offer you a waffle stitch written pattern, but wait, there’s more. I am going to offer you MORE THAN ONE waffle stitch written pattern! My “stitch of the week” subscribers already got the pattern for the washcloth I mentioned above, so now I am going to ALSO give you a waffle stitch written pattern for a scarf and a crochet waffle stitch baby blanket written pattern.
Can’t you see it now? A lovely waffle stitch crochet scarf! I can’t wait to finish it.

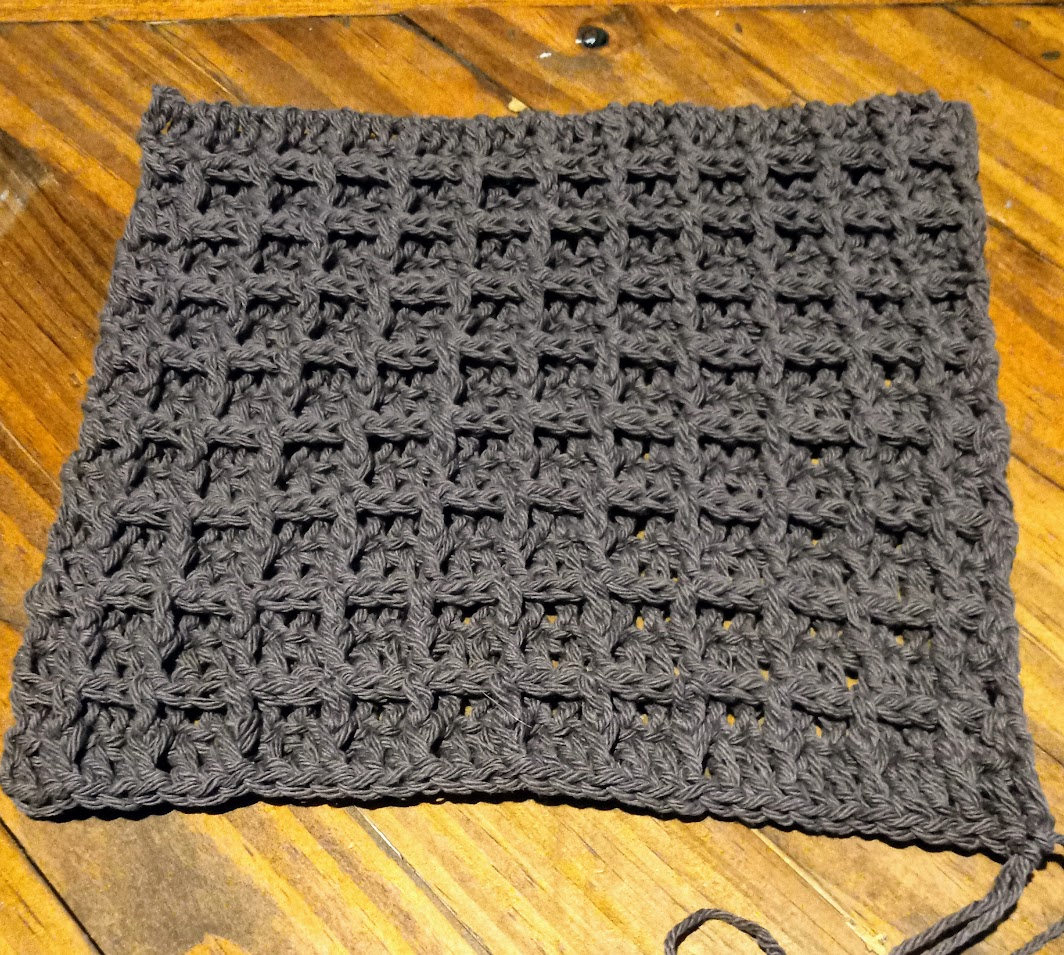
As you can see from the photo of the waffle stitch washcloth I made (above), the pattern creates a grid like raised pattern. In my opinion, that is why this stitch is so great for washcloths, it gives it a texture to scrub with or just to hold suds. The raised grid-like pattern also has a farmhouse feel to it making it desirable on washcloths or even baby blankets.
UPDATE**** The stitch of the week has now moved to the Facebook group!
Understanding the Terminology
Before you can crochet the waffle stitch, you have to understand the terminology, so you know where to place your stitches. A crochet stitch has 2 parts, the sideways “V” across the top, also called loops (front and back loops), and the post, the “stand up” part going to the row below. To crochet under the stitch for the waffle stitch, you insert your hook under one side of the post, and out the other side instead of using the loops on top. Doing this pushes the stitch “forward” giving the appearance that it is sticking out.

How to Crochet the Waffle Stitch
The design is created over 3 stitches. To crochet it, one of the 3 stitches stands “forward” and the other 2 stand “backward.” It is a relatively easy pattern, but you do have to pay attention and look at where your stitches are going, especially when you turn your work.
Bella Coco has a great video tutorial. I watched it and then was able to simply crochet the waffle stitch.
When you turn your work, you have to do the opposite, 1 stands “backwards” and 2 stand “forward”. Because you are on the back side of you work, the front side is actually remaining the same, holding the pattern. That being said, the back side of your work does NOT have the same pattern.
What Makes This Blog Different
Now for the learning part of this post. You don’t actually need me to provide you a waffle stitch written pattern, even though I am going to. All you really need is to understand how to create your own pattern. So that is what we are going to talk about now.
Creating your own pattern is not as hard as you think. Sure, some things are much more complex, but in reality, I am talking about a washcloth, a scarf, and a baby blanket. These things are flat and either square or rectangular. You can make it exactly what you want it to be without having to search out a waffle stitch written pattern. Then, you take what you learn as you apply it to other stitches as you learn them, and suddenly crochet makes a lot more sense!
As I mentioned, this pattern is created over 3 stitches so your starting chain will have to be a multiple of 3, plus 2 for the turning chain. The first thing you need to decide, is what are your dimensions going to be? Are you making a washcloth, a scarf, or a baby blanket, etc. My washcloth was going to be the standard 12 inches by 12 inches, so that was my starting point.
I created enough chains to reach my desired length/width using a multiple of 3, then I added 2 more for the turning/starting stitch. Once you have the desired length or width, then you crochet your first row of all dc. You start in the third chain from the hook, which creates the first dc (height of 2 chain stitches), and you continue across.
The second row is where the actual waffle stitch pattern begins. You have to have the first row of dc so that on the second row you can start standing them forward/backward.
Waffle Stitch Written Pattern wash cloth
I used peaches and cream 100% cotton yarn and a size 5 hook.
Chain 38 (36 is a multiple of 3, + 2 for turning chain)
Dc in 3rd chain from hook and all the way across. 36 stitches. Ch 1, turn
*Dc in first 2 stitches, dc under post of 3rd stitch* repeat across. 36 stitches. Ch 1, turn
*Dc in first stitch, dc under post of next 2 stitches* repeat across. 36 stitches. Ch 1, turn
Repeat the last 2 rows until you reach your square size.
When making my washcloth, the 12 inches I chained seemed to shrink to about 10 inches once the texture started taking shape, but I made it to a square before I ran out of yarn on the 120-yard small ball of peaches and cream.
In Closing
Hopefully you are now able to fully understand the waffle stitch and how to adapt it to what you want to use it for. If you haven’t yet, grab my stitch checklist below and get on my email list so I can continue to teach you these valuable lessons!
join our free facebook group!

I would like the written waffle stitch crochet pattern by Teresa Richardson.
The written pattern is in the blog post.
Chain 38 (36 is a multiple of 3, + 2 for turning chain)
Dc in 3rd chain from hook and all the way across. 36 stitches. Ch 1, turn
*Dc in first 2 stitches, dc under post of 3rd stitch* repeat across. 36 stitches. Ch 1, turn
*Dc in first stitch, dc under post of next 2 stitches* repeat across. 36 stitches. Ch 1, turn
Repeat the last 2 rows until you reach your square size.